Linux简单搭建socks5入门教程Dante SOCKS Proxy
简介
在linux上搭建socks5的脚本以及方法非常的多,这篇介绍一下使用Dante SOCKS Proxy搭建的socks5,步骤尽量
做到简单不迷惑,让新手看的明白,顺便做个笔记记录一下,一起看下怎么操作搭建socks5吧
教程
先更新一下系统
apt update
安装
apt install dante-server
我们查询状态
systemctl status danted.service
刚安装好的启动状态肯定是failed,因为我们后面需要进行配置文件的修改
root@C20230217125066:~# systemctl status danted.service
● danted.service - SOCKS (v4 and v5) proxy daemon (danted)
   Loaded: loaded (/lib/systemd/system/danted.service; enabled; vendor preset: enabled)
   Active: failed (Result: exit-code) since Mon 2023-04-17 03:00:21 UTC; 15s ago
     Docs: man:danted(8)
           man:danted.conf(5)
 Main PID: 2867 (code=exited, status=1/FAILURE)

Apr 17 03:00:21 C20230217125066 systemd[1]: Starting SOCKS (v4 and v5) proxy daemon (danted)...
Apr 17 03:00:21 C20230217125066 systemd[1]: Started SOCKS (v4 and v5) proxy daemon (danted).
Apr 17 03:00:21 C20230217125066 danted[2867]: Apr 17 03:00:21 (1681700421.711154) danted[2867]: warning: checkconfig()
Apr 17 03:00:21 C20230217125066 danted[2867]: Apr 17 03:00:21 (1681700421.711304) danted[2867]: error: checkconfig():
Apr 17 03:00:21 C20230217125066 danted[2867]: Apr 17 03:00:21 (1681700421.711420) danted[2867]: alert: mother[1/1]: sh
Apr 17 03:00:21 C20230217125066 systemd[1]: danted.service: Main process exited, code=exited, status=1/FAILURE
Apr 17 03:00:21 C20230217125066 systemd[1]: danted.service: Failed with result 'exit-code'.
修改配置文件
vi /etc/danted.conf
可以直接使用我下面的配置文件
logoutput: syslog
user.privileged: root
user.unprivileged: nobody

# The listening network interface or address.
internal: 0.0.0.0 port=10808

# The proxying network interface or address.
external: eth0

# socks-rules determine what is proxied through the external interface.
socksmethod: username

# client-rules determine who can connect to the internal interface.
clientmethod: none

client pass {
    from: 0.0.0.0/0 to: 0.0.0.0/0
}

socks pass {
    from: 0.0.0.0/0 to: 0.0.0.0/0
}
现在我们来开放刚才配置文件里的端口10808
ufw allow 10808
先重启一下服务,然后再查看应该就是 running了
#重启一下服务
systemctl restart danted.service

#查看状态
systemctl status danted.service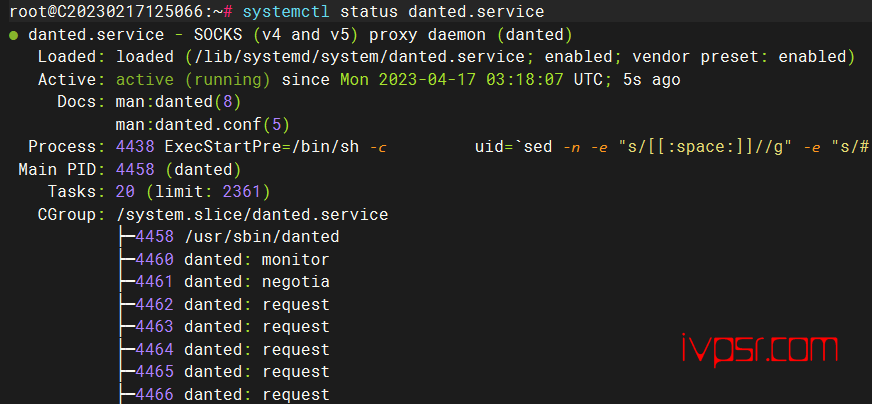
然后为我们的s5创建一个用户,禁用登陆,只为连接用
#创建用户
useradd -r -s /bin/false ivpsr

#修改密码
passwd ivpsr
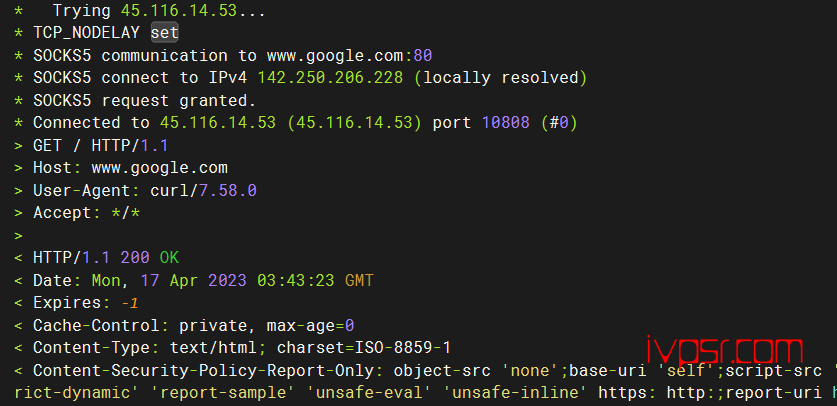
最后我们来测试一下是否可以正常使用,随便浏览任何网站,只要返回网页代码即可
#测试的格式
curl -v -x socks5://用户名:密码@服务器地址:端口 http://www.google.com/
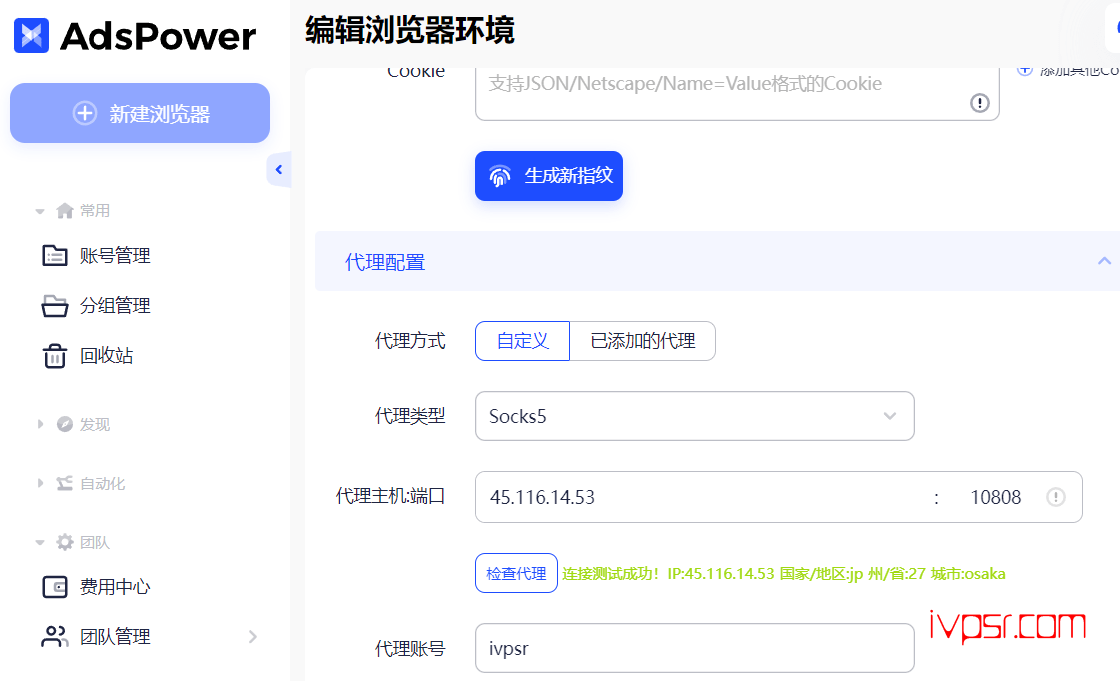
我们来填到AdsPower Browser里试试,ADS浏览器怎么用这不用我多说吧,只有这样才是AdsPower独享IP
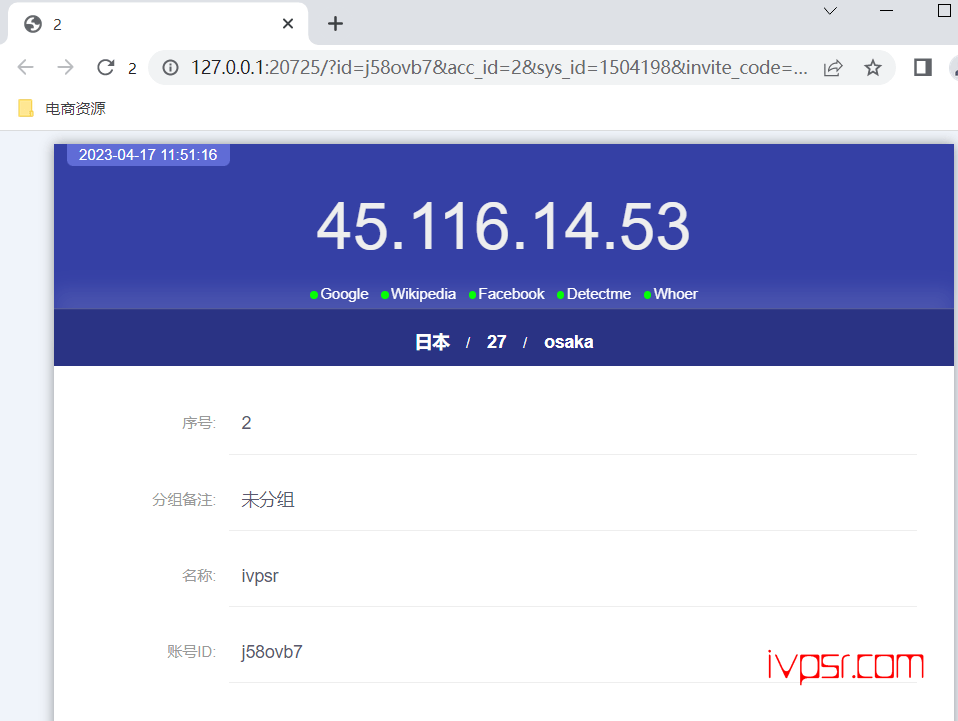
已经成功代理上了
版权声明:
作者:ivpsr.com
链接:https://ivpsr.com/4058.html
文章版权归作者所有,未经允许请勿转载。
THE END


